Physical Address
60 Ekwema Cres, Layout 460281, Imo
Physical Address
60 Ekwema Cres, Layout 460281, Imo

Mobile technology in recent times has given data so much value. It has become a must-have for all internet users in Nigeria. With the high cost of internet data, you need to know how to check if someone is Sharing Your Data on GLO; thereby protecting your data from unauthorized intruders who share your data secretly.
So as a Globacom (Glo) subscriber, it is important know how to check if someone is sharing your data on GLO in other to tightly keep guard over your data bundle.
As you go through this writing, you will be acquainted with the step-by-step guideline on how to check if someone is Sharing Your Data on GLO, removing unauthorized users, and unsharing your data even when you don’t know the precise number of the person accessing it.
Data sharing and being able to use a data plan at multiple devices are among the most exciting features of GLO network. But, along with it comes a possibility of your data being used without you knowing who it is.
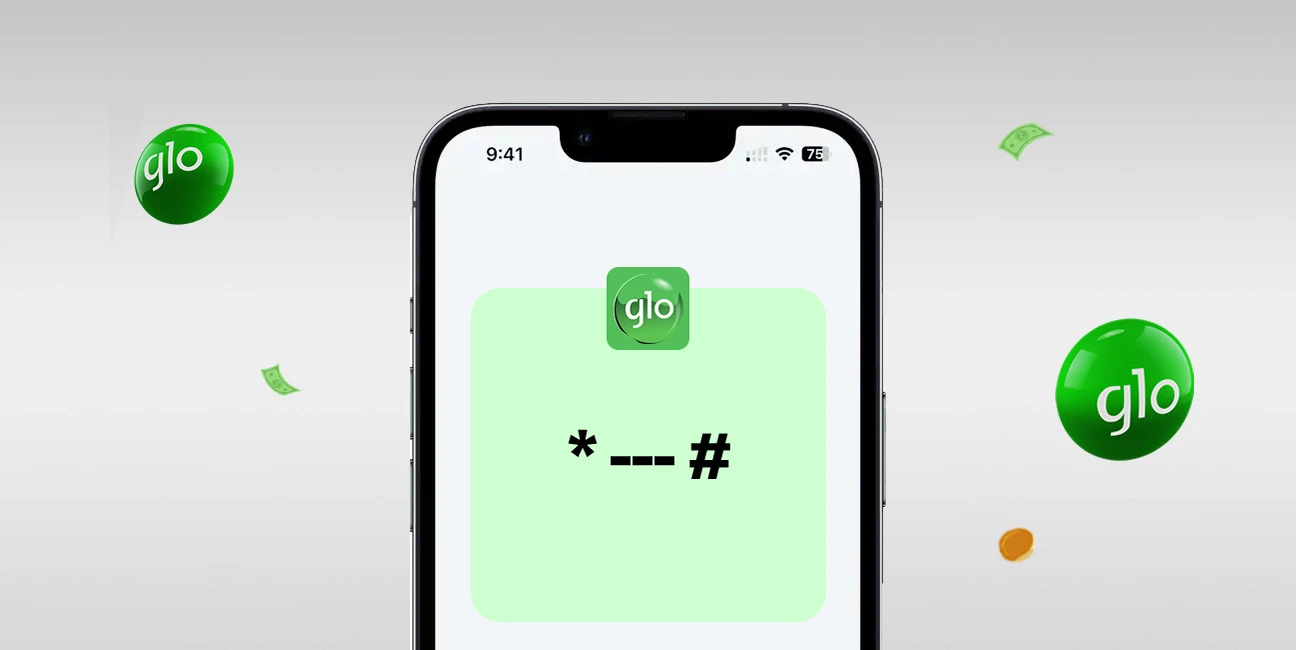
When you know that your data balance is suddenly depleted fast or if anything about its usage seem odd and suspicious, the first thing to do is to identify how to check if someone is Sharing Your Data on GLO.
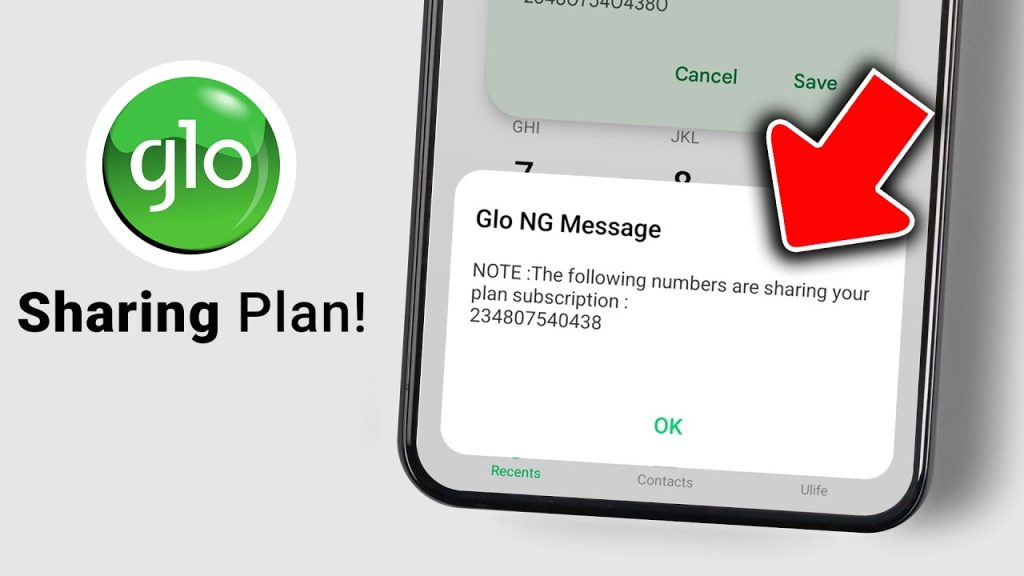
Before you can block or remove unwanted sharers, you must prove that someone else is indeed using your data bundle. Luckily, Glo provides simple self‐service tools, both via USSD code or SMS, that let you view a list of all numbers currently receiving shared data from your line.
Once you learn these methods, you’ll never be left guessing why your data balance is vanishing so quickly.

Each listed number represents a device or user who can consume your data. If you recognize all the numbers- say, your spouse’s, your child’s, or a parent’s-then there’s no cause for alarm. If you see any unfamiliar entry, you now know precisely which number is siphoning your data.
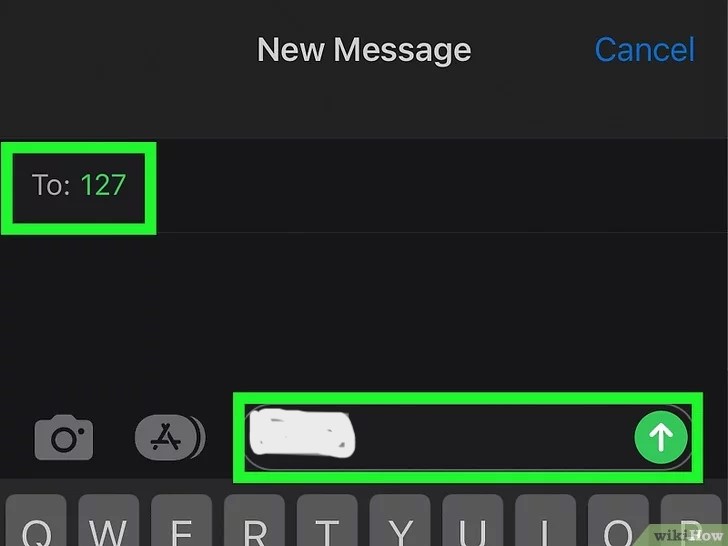
If, for any reason, you cannot dial USSD—perhaps due to network fluctuations or a handset glitch—you can still retrieve the shared‐data list by SMS:
If by any chance you were unable to dial USSD, probably due to fluctuations in the network or a malfunction with your phone, retrieve the shared‐data list by SMS;
For those who prefer web interfaces or have limited airtime, Glo’s digital self-service options allow checking shared data from any internet-connected device. This method will come in very handy if you are on Wi-Fi already or have a device that doesn’t support USSD (like certain tablets).
Via the MyGlo Mobile App
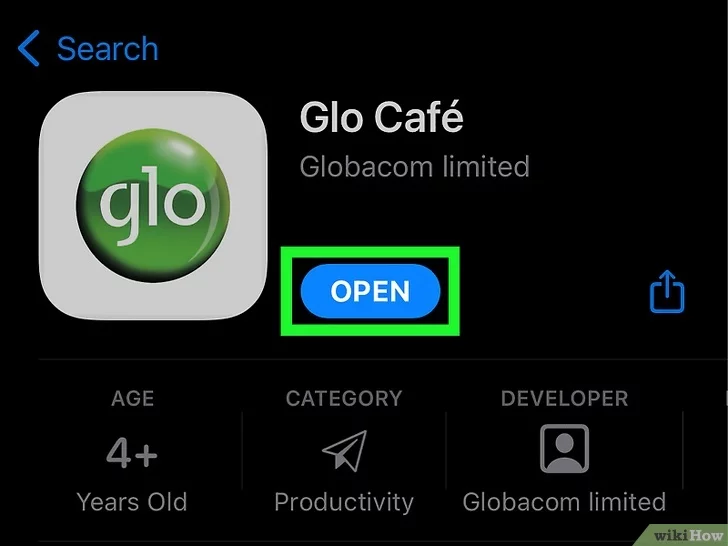
1. Download and Install MyGlo: If you haven’t yet, visit Google Play Store (Android) or Apple App Store (iOS) and search for “MyGlo.” Ensure you install the official app, which displays Glo branding and an average 4 star user rating.
2. Log In to Your Glo Account: Enter your Glo mobile number, and the app will send you a One-Time Password (OTP) via SMS. If you have not registered before, then it will quickly set you up using your Glo number and name.
3. Navigate to “My Services” or “Manage Subscription”: Upon logging in, a menu tab labeled “Services,” “Subscriptions,” or “Profile Settings” should be pursued. The phrasing may vary slightly, depending on the version of the app you are using.
4. Tap “Data Sharing” or “Shared Subscriptions”: Move past services until you see “Data Sharing” or “Shared Subscriptions” option; selecting that will show the phone numbers using up your plan.
5. Verify the Numbers: The app will display the entire array of linked numbers. You will review them as though you were using the USSD response to identify any unusual or unauthorized entries.
Via the Glo Self-Care Web Portal (Desktop/Laptop)

1. Open Your Web Browser: Any computer or device connected to the internet would open Chrome, Firefox, Safari, or Edge then.
2. Visit the Glo Self-Care Portal: Type in https://hsi.glo.com (sometimes referred to as “My Glo” or “Self Care Portal” on Glo’s official website). Press Enter.
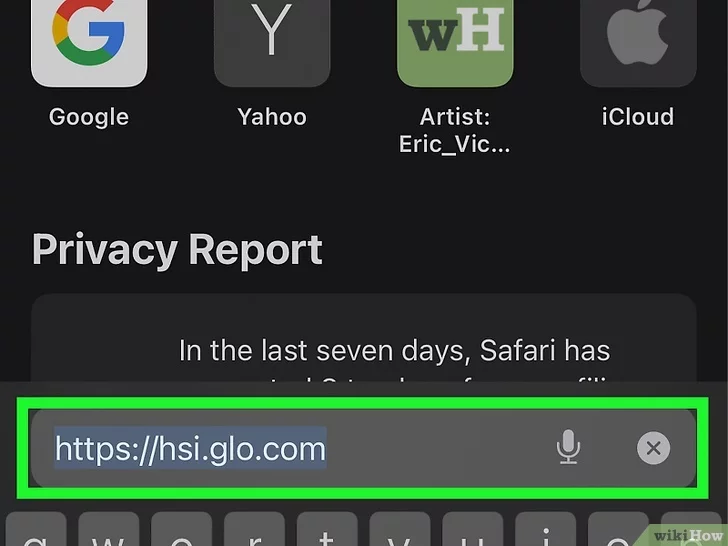
3. Log In Using Your Glo Number and OTP: A small pop-up will ask for your phone number. Enter that; click on “Send OTP,” and after receiving the six-digit code, enter it into the portal to log into your account.
4. Access the “Data Sharing” Section: In your account dashboard, find the “Shared Data” or “Shared Subscriptions” link. This is the second-to-last step before you proceed to take down any stray or unauthorized entries.
5. Take Note of Any Unknown Numbers: The portal will enumerate every active sharer, and when you see any strange number, go ahead and remove it (detailed in later sections).
After confirming which numbers are using your data—especially any unauthorized entries—you need to unshare or remove those numbers immediately to prevent further drains on your data bundle.
Glo offers both USSD‐based and SMS‐based removal options, plus the ability to delete links via the app or web portal if you prefer a graphical interface. Choose whichever method suits you best; all steps below guarantee complete removal.
The most direct way to remove a shared data recipient from your Glo plan is by dialing a specific USSD code:
If you prefer SMS over USSD—for instance, if you’re low on airtime but have text bundles—Glo lets you send a removal request by text:
For those who would rather tap a screen than dial codes, the MyGlo app and Glo’s self‐care portal both let you remove numbers from your shared‐data list in just a few taps:
Through the MyGlo App

Through the Glo Self‐Care Web Portal
There are times when you suspect an unauthorized user is tapping your data, but you don’t yet know the exact phone number. Perhaps a family member set up sharing once, forgot to tell you, or someone you gave temporary access to move on.
In these scenarios, you need methods to unshare data that don’t require you to recall or even see the exact number. Below are proven techniques to unshare data without knowing the specific recipient’s number.
If you’d rather hit “reset” on your shared‐data group—making all previous shares void—use the USSD code that clears every link at once:
If you have internet access but cannot recall individual numbers, the Glo self‐care portal provides a “master switch” that turns off all sharing:
Some versions of the MyGlo app allow you to mass‐remove all shared recipients with a single tap. The steps below assume you have the latest version installed:
If you have no internet access, no airtime, and no recollection of numbers, the final fail‐safe is a quick trip to any Glo service center:
Explain Your Situation to the Glo Representative: Tell them you wish to “disable all data sharing” on your line. If you suspect unauthorized sharing, let them know that, too.
Yes, Glo allows you to share your data with multiple people at once.
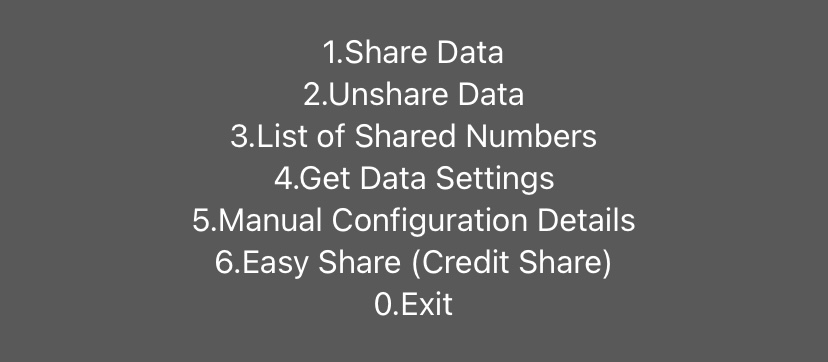
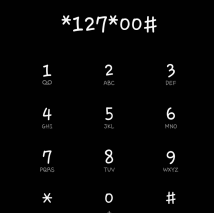
If your data is depleting faster than expected, first check who is sharing your data by dialling *127*00# or checking through the Glo Café app.
Yes, you can disable data sharing by removing all users who are linked to your data plan. You can do this via the USSD code or through the Glo Café app.
Guarding your mobile data on Glo isn’t just about topping up or buying more bundles; it’s about ensuring that every megabyte you purchase stays under your control. When you master how to check if someone is Sharing Your Data on GLO, you can quickly identify every number tapping into your subscription, whether knowingly or secretly.
With these methods—USSD codes, SMS commands, app toggles, and web portal controls—you have a complete toolkit for monitoring and managing your Glo data. No more mysterious drains, no more surprise deductions, and no more guesswork.