Physical Address
60 Ekwema Cres, Layout 460281, Imo
Physical Address
60 Ekwema Cres, Layout 460281, Imo

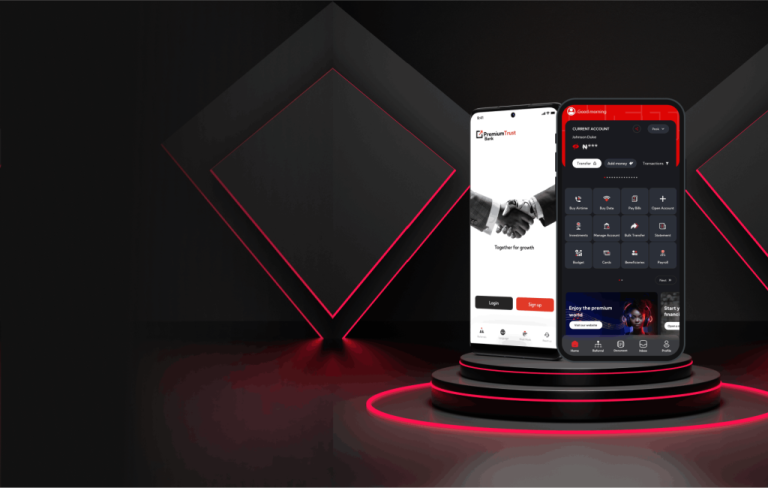
Just like water sustains life, internet connectivity is the oil that fuels modern living. In today’s world, particularly in countries like Nigeria, finding reliable and affordable options can be a challenge.
The days of poor network connections are over, as there’s a new player in town offering a promising alternative: SpaceX Starlink.
As confirmed by Elon Musk in a tweet, Nigeria is proudly the first African country to enjoy Starlink’s services. It is also promising blazing-fast speeds of up to 150 Mbps and a streamlined installation process.
Nigerians can now wave goodbye to poor internet connections and experience internet freedom like never before.
While obtaining the Starlink kit may seem challenging initially, the process becomes smoother thereafter.
In this article, we will walk you through the process of launching Starlink in Nigeria, from purchase to setup. With this guide, establishing your internet connection will be smooth sailing.
Starlink, the satellite internet service by SpaceX, has gained significant traction in Nigeria since its announcement in January 2023.
Despite being at a higher price point than local internet service providers (ISPs), Starlink has garnered considerable interest among Nigerians seeking reliable connectivity.
According to its founder, Elon Musk, Nigeria is the first African country to receive and enjoy Starlink services.
Its demand has since grown by leaps and bounds, particularly in areas with poor networks and among individuals who crave unlimited and uninterrupted network connections. especially.
Recent data from the Nigerian Communications Commission (NCC) shows that Starlink has emerged as one of the leading ISPs in Nigeria, with a customer base of 11,207 as of the third quarter of 2023.
What’s noteworthy are Starlink’s hardware and subscription costs. Though initially quoted in dollars, the cost of the kit and subscription has since been converted to Nigerian naira upon its official launch.
It was priced at N268,584 for hardware and N19,260 for monthly subscriptions. However, due to fluctuations in the exchange rate, the costs have surged, now reaching N378,000 and N38,000, respectively.
In a bid to capture a larger market share, Starlink slashed its hardware costs by 21% between October and November, temporarily selling its equipment for N299,500.
The lack of sustainability of this price change has caused the company to revert to the original figures afterward.
You can buy the Starlink kit in Nigeria. The total cost covers the hardware and everything needed to get it running for an internet connection.
The hardware costs $600, and the naira equivalent is dependent on the exchange rate.
Some sources maintain that it has reverted to N378,000 since November, but we advise that you check on their website before going ahead to make a purchase.
Once you have your Starlink hardware, the service then costs $43 per month (NGN19,260/month) for as long as you want the service, but there is no recurring equipment expense.
There is also no long-term contract, and you can choose to stop the service when you need it. You can pay using a dollar card issued by any of the local Nigerian banks.
Ordering and paying for your Starlink is easy with the following steps:
Verify whether Starlink services are offered in your Nigerian location before making a payment. Although Starlink is anticipated to expand globally, for the time being, availability may differ by area.
Go to the Starlink website and enter your location to check if their service is available where you are. It is easy to get Starlink for your house.
All you have to do is go to starlink.com, confirm that your location is within the service area (it is as easy as plugging your address into the SpaceX coverage map), and then sign up for the service.
It only takes a few minutes to sign up, and all you have to do is provide your physical address and credit card information.
You will also find out if you can expect your Starlink kit within the standard 2-week window of time, or if you will have to waitlist for an extended period.
Place a Starlink kit preorder first. Whenever required, include your address and phone number. You will receive a notification when Starlink becomes available in your area if you place a preorder.
An email will be sent to you as soon as Starlink reaches your area. Proceed to complete the online payment after that. Starlink accepts credit and debit cards.
Take these actions to finish the payment:
Following payment, Starlink will process your order and ship the Starlink kit to Nigeria. Delivery times are typically contingent on the location and conditions.
Once you receive the kit, install your internet by following Starlink’s setup instructions.
Once installed, turn on your Starlink kit. After powering up the devices, connect the Starlink dish to the router.
For optimum performance, Starlink provides comprehensive instructions on how to activate and optimize your connection.
The content in the Starlink kit contains almost everything you need to get it running. It is important to note, however, that the Starlink router needs uninterrupted electricity to function.
Also, use the smartphone app, available for Android and iOS devices, to check system status. Below is a list of the content of the Starlink kit and its features
Make setup easy by following the instructions.
Optimal performance requires a 100% clear Starlink. The quality of the connection will suffer from even minor impediments in the field of view.
Every dish should have a 360° rotation and an unobstructed view of the sky from an elevation of around 20° above the horizon.
A third-party router can be used to load and balance numerous dishes if there are obstructions in the field of vision.
Use the Starlink app to scan the sky in the area where you want to set your dish to avoid obstacles. Any barriers that stand in the way of the dish, like tree branches, poles, or masts, can impair network performance.
Drilling may be necessary for permanent installation to provide the strongest mount. Alternatively, third-party mounting hardware can be used to secure the dish to a beam or railing.
Please bear the following in mind if you intend to utilize the Starlink Wedge Mount that comes with the Flat high-performance dish:
Using the included mount, install the power supply. Make sure the connectors are pointing sideways or downward.
Using the included wire, attach the Starlink dish to the power source. An eight-meter cable is included with the Flat High-Performance package.
Should 8 meters prove insufficient for your installation, a 25-meter cable is available for purchase at the Starlink Shop.
The connection from the power supply to the dish cannot be longer than 25 meters due to power limitations. This cable has a minimum bend radius of 10 cm (4″).
There are two options for how to go about this. The first option is to attach the power supply to the Starlink-provided router using the Starlink Router cable.
The second is to connect the power supply straight to an Ethernet port on a device or to a third-party router using the Starlink Ethernet cable.
It is recommended that you repair or terminate the Ethernet connection cable if it is not long enough. Use a weatherproof connector if the connection is made outside.
This is a regular Ethernet wire that may be extended up to 100 meters from the power source to your network. The standard minimum bend radius for an Ethernet wire is 10cm (4″).
Connect the power supply and the router (if it is in use) to an AC voltage power source using the power cable.
Launch the Starlink app, stand close to the router, and select “Start Setup.”
This will walk you through the setup process and provide instructions for configuring your WiFi, including choosing a network name and password.
Not available on Starlink? Go to the WiFi settings on your device, find the “STARLINK” network, and connect to it.
You can verify that you are connected by using the Starlink app to do a speed test, watch a video, or navigate to a website. The app’s main screen will display an online status for you to see.
When confirming the initial setup, we advise utilizing the Starlink router. For more instructions, refer to the WiFi section.
The Starlink app has more time to gather data after a few hours of connectivity.
Starlink Data: Once connected to the Starlink router, you can examine statistics such as speed, uptime, latency, outages, and alerts from the Starlink app under the “Statistics” section or by typing ‘dishy.starlink.com‘ into any web browser.
To sum up, installing internet connectivity does not have to be a daunting task. This guide will make it simple for you to set up a dependable internet connection. You will be web browsing in no time if you just follow the instructions.
Recall that having access to the internet is now more important than ever and that everyone can do so with the correct help.
Delivery time may take two to four weeks or more after payment.
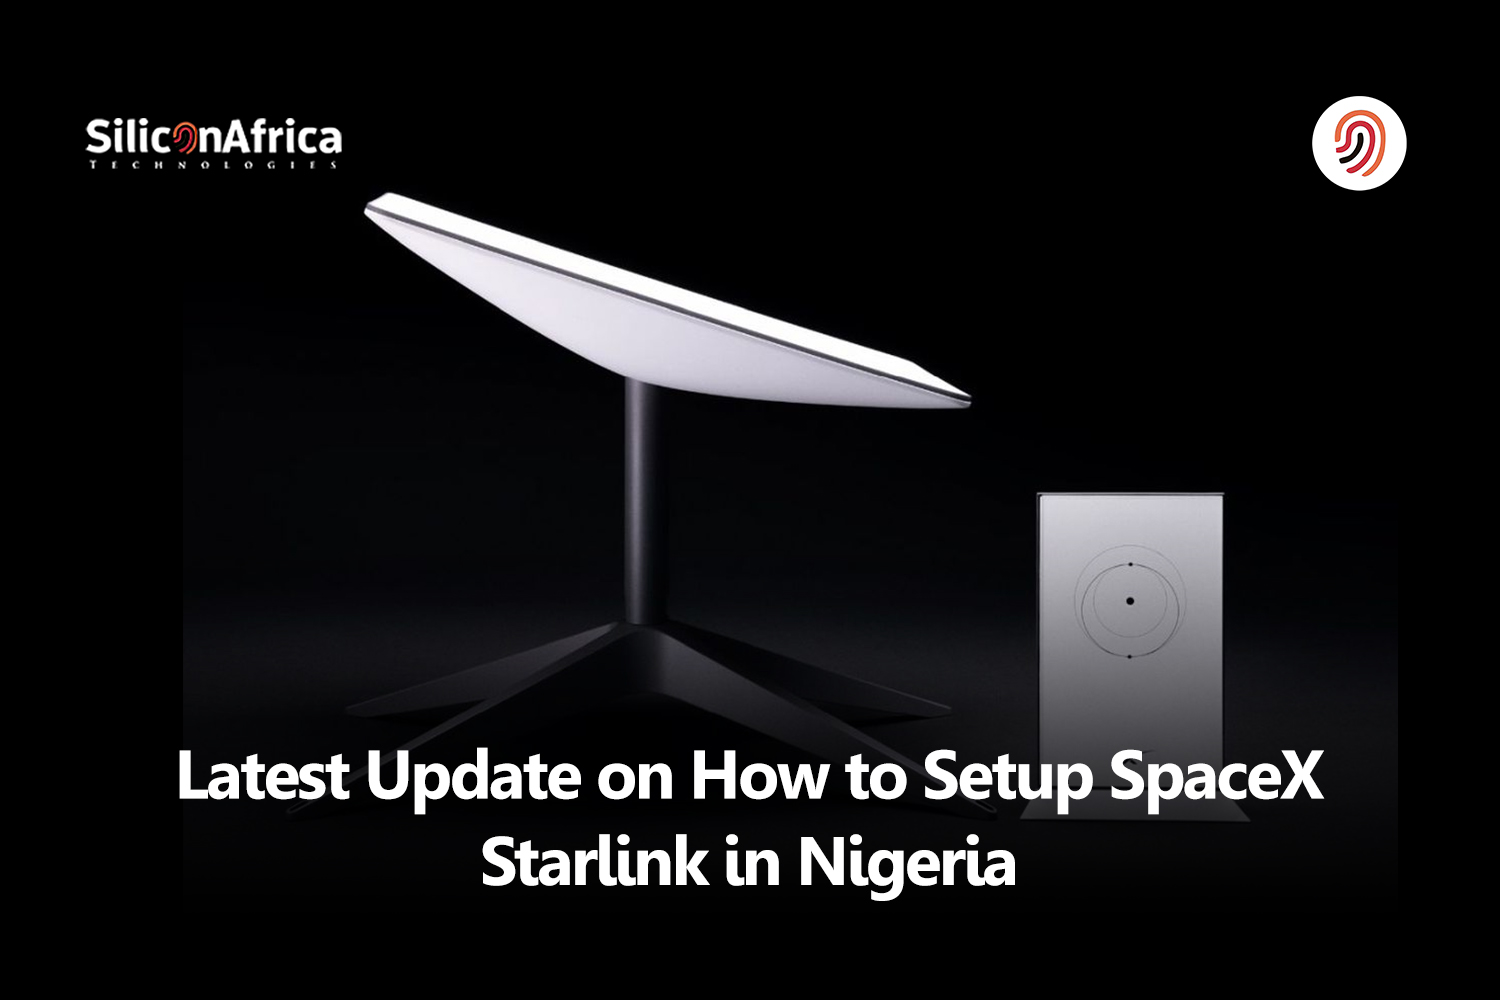
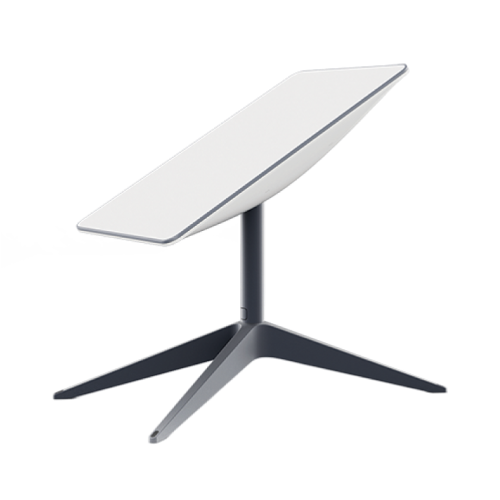
The “Starlink Kit,” which consists of a Starlink user terminal, Wi-Fi router, power supply, and mount, is required to get Starlink’s two-way satellite-based internet service.
In addition to the actual dish and router included in the starter pack, the Starlink app, which can be downloaded from the Google Play Store for Android and the Apple App Store for iOS devices, acts as your control panel for operating your Starlink connection.
The goal of Starlink’s project is to enable direct smartphone connections. It will use LTE connectivity; therefore, a SIM card is required for data routing, SMS, and phone calls. But Starlink will not be selling SIM cards directly.
In theory, Starlink provides limitless data with no hard data caps. This guarantees that overuse will not result in the termination of your internet connection.
However, the quantity of high-speed data you get may be limited by certain Starlink plans.
Go to the Starlink website and enter your address to see if Starlink is available where you live. You will get a notification when you click the “Order Now” button that tells you whether Starlink can be reserved in your location.