Physical Address
60 Ekwema Cres, Layout 460281, Imo
Physical Address
60 Ekwema Cres, Layout 460281, Imo


How to import images in Figma is a common question among beginners. You can drag and drop an image directly onto your canvas or navigate to the File menu and choose the “Place Image” option. You can use this method regardless of whether you are using the desktop app or Figma web version. It’s quick, simple, and requires no extra tools.
Learning the art of inserting images in Figma online or in the application makes you productive and brings your designs to life. You do not need to go through lengthy procedures or install anything extra with Figma—just upload, insert, and design.
In this step-by-step guide, we’ll show you how to import images in Figma using different methods. We’ll also cover how to import images in Figma online, how to import images from plugins, and how to export an image to Figma format for editing.
No matter if you’re a designer working on a mobile app, website, or presentation, these tips will save your time and enable you to work more efficiently.
Figma is a powerful design tool that is used by both professionals and newcomers. It’s great for UI/UX design, web mockups, mobile app screens, wireframes, and even drawings. But whatever kind of design you’re doing, images typically have a big role to play.
Maybe you’re adding a product image. Maybe it’s a logo, background texture, stock photograph, or screenshot. Whatever the case, importing images in Figma is one of those basic skills that you’ll utilize again and again.
Let’s run through all the ways of importing images in Figma and how to manage them like a professional.
Read Also – How to Import Goods from China to Nigeria | Step to Step Guide
Importing images in Figma can be done in a number of ways. The benefit of this method is that it gives you more control over where and how large the imported images will be. You can also utilize this method to add images into pre-existing shapes by using them as fills.
Let’s talk about the methods:
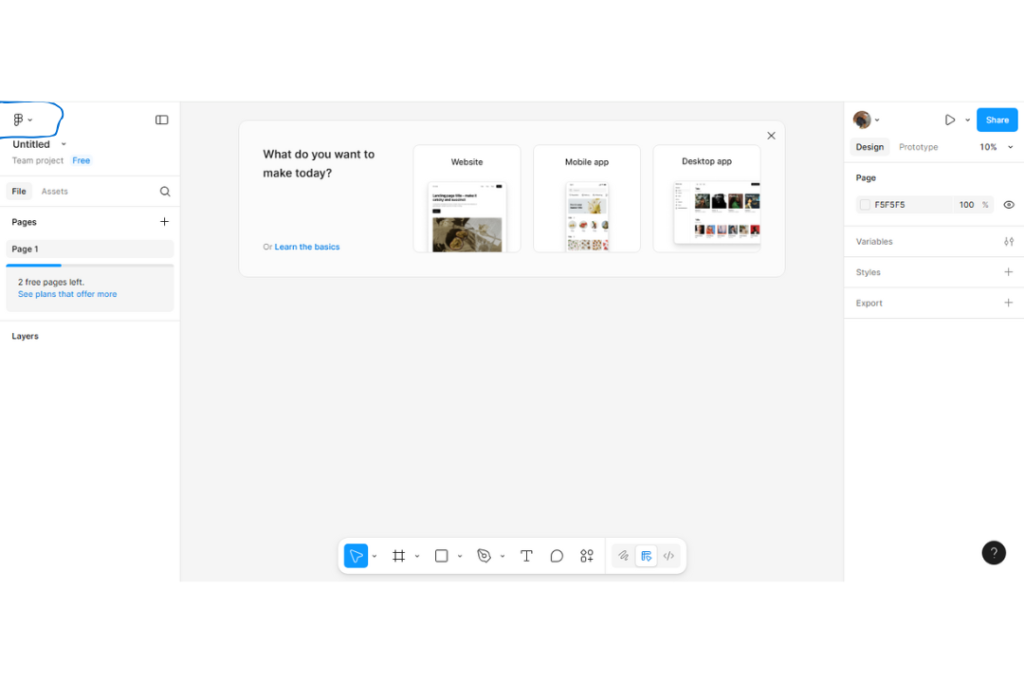
To import images using the menu, follow these steps:
Click on the Figma logo on the top bar and select File.
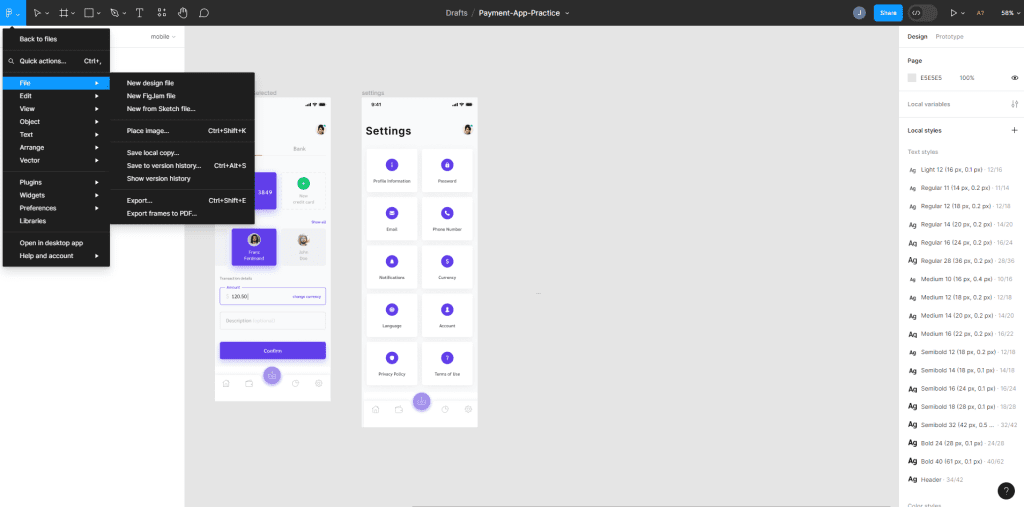
From the drop-down menu, select Place Image.
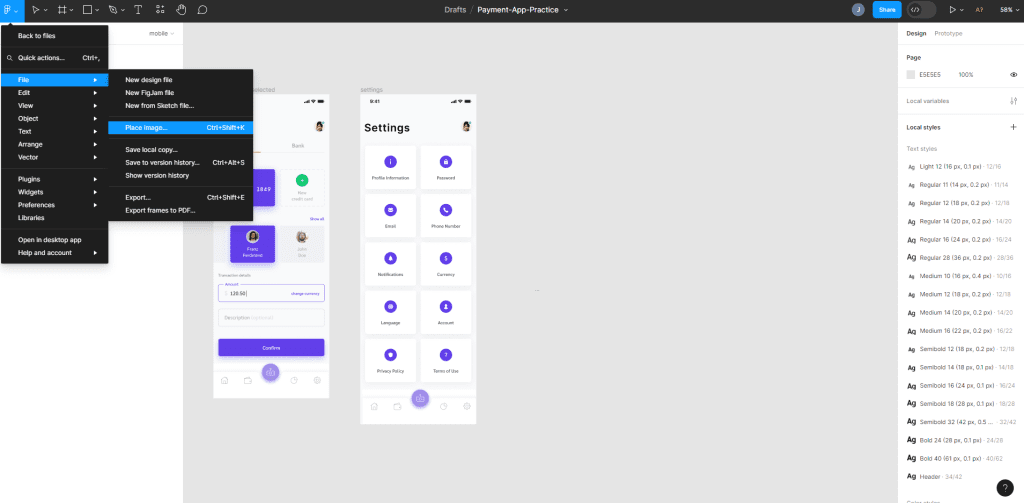
A file browser opens, allowing you to select several images.
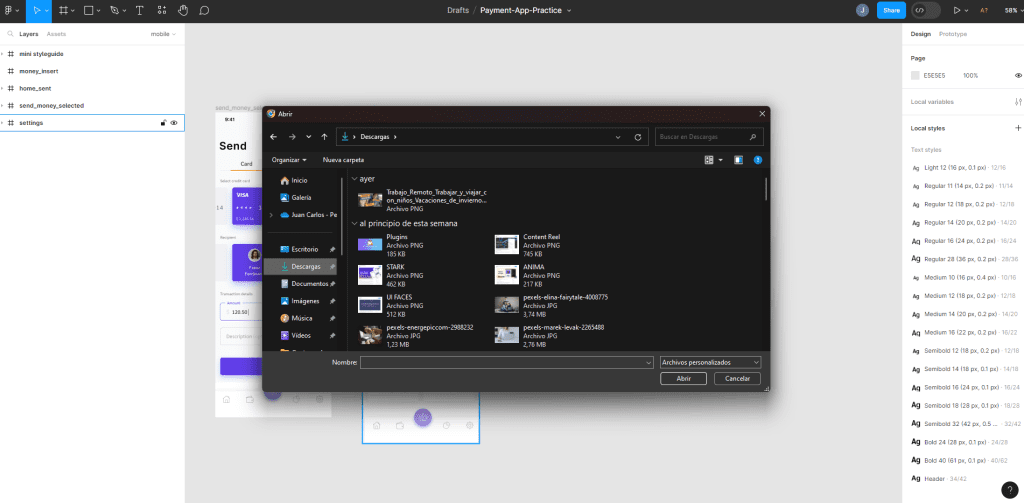
Drag or click the images one at a time onto the canvas to be imported into your file.
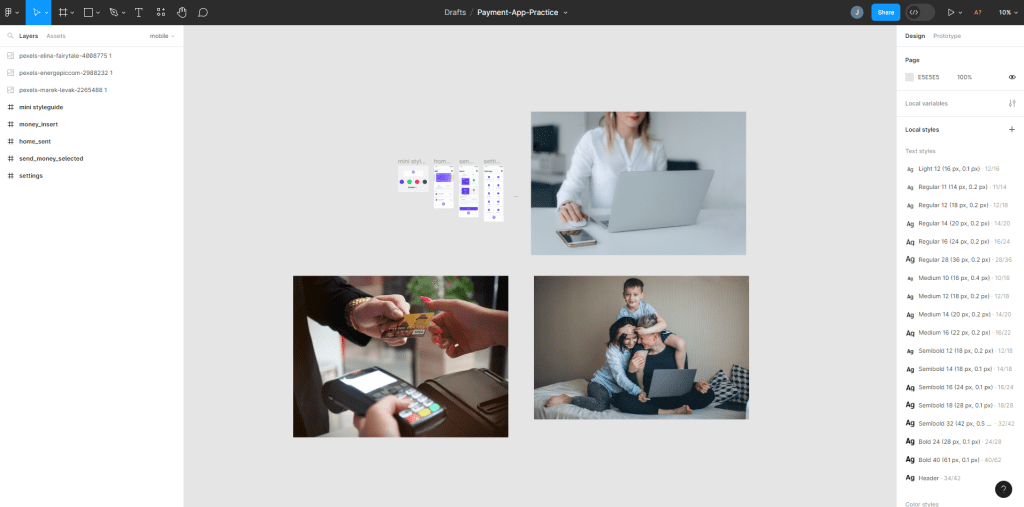
The second way of importing images is by using the drag and drop method. This method is useful when you need to import multiple images at once. It also allows you to use Figma’s Smart Selection features, whereby you can select all the imported images and adjust their spacing. The following is how to go about it:
Locate the images that you want to import on your computer.
Simply drag and drop the images onto the Figma canvas.
Figma will organize the images on the canvas into aligned rows of ten.

Also Read – How to Import Contact From Gmail to iphone | Step to Step Guide
If you want to test and import multiple concepts quickly without taking up hard drive space, you can use the copy and paste feature. While it is only possible to import one image at a time using this method, it is a convenient way of testing ideas without saving and downloading images to your computer. Here is how you can go about it:
Find an image that you want to import in your browser.

Right-click on the image and select Copy Image.

Go to Figma and paste the image in your file.

Some Figma plugins enable you to import images directly from other sites like Unsplash, Pexels, or even Google Images.
Open the Figma menu.
Click “Plugins” > “Browse Plugins”.
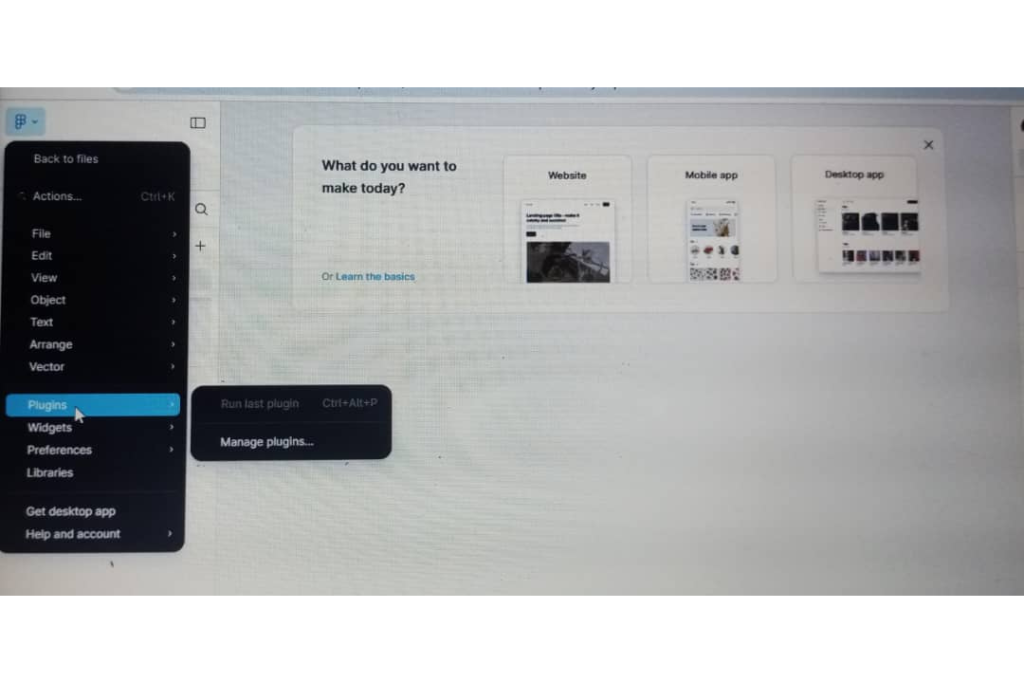
Type “Unsplash”, “Pexels”, or any other image plugin.
Install the plugin.
Open the plugin in your project.
Search for an image and insert it.
This is an amazing time and effort saver if you need stock images or don’t wish to download individual files.
Read Also – How to Import Core to Metamask | Step to Step Guide
It’s helpful to understand what file types are supported by Figma prior to importing:
These can be utilized in most design element types in Figma.
Once you have imported images into Figma, you can edit them as required to fit your design. Figma provides various options to edit and transform images:
Figma automatically treats images as fills for shapes. You can adjust the fill settings to control the manner in which the image is presented within the shape. The following are the different fill types:
Fill: Stretches the image to the shape’s size.
Fit: Scales the whole picture to fit the shape, maybe with empty space surrounding the picture.
Crop: Allows you to re-size and move the picture inside the borders of the shape.
Tile: Repeat the picture inside the shape.
These fill types give you flexibility in presenting and placing your pictures in shapes.
Also Read – How to Unlock any Phone Password using Emergency Call | Full Guide
If you need to crop an image fast in Figma, you can use the quick crop feature. To do this, follow these steps:
Select the image layer you want to crop.
Double-click on the image or click on the crop button in the top toolbar.
Adjust the crop settings to your liking.
This feature saves you time since you can now crop images directly in Figma without needing to utilize external image editing software.
Figma supports various blend modes that you can apply to multiple fill layers. This feature is useful if you want to include effects like black and white filters on your images. The following is how you can do this:
Add a solid fill layer on top of the image.
Set color to black or white.
Change the blend mode to “color”.
By layering fills and adjusting blend modes, you can achieve more advanced image effects and maintain flexibility when swapping out images.
Also Read – How to Make a Whole Instagram Series with Just CapCut Desktop Video Editor
Once you’ve added an image, you might need to make it part of your design system or turn it into a component.
Here’s how to convert an image into Figma component:
Now your image acts like any other component in Figma. You can reuse it, update instances, and structure it within a component set.
Figma operates directly in the browser, hence there’s nothing to install. If you are on Figma on the web, bringing in images follows the same procedure.
Irrespective of whether you are using Chrome, Firefox, or Safari, all that you need is a stable internet connection.
Just drag and drop your image file into the browser window, or go to the “Place image” tool in the file menu. It works the same way as the desktop app.
Your changes are saved automatically to the cloud, and you can access them from any device. This makes Figma an extremely handy tool for remote collaboration and teams.
Read Also – How to Flash an Android Phone with the Power Button | Full Guide
Now that you’ve learned how to import and edit images in Figma, here are a few more tips and tricks to help you level up your image workflow:
To organize your design files in a way that makes them easily accessible, make a separate folder or page in Figma just for images. By doing this, you can find your image assets quickly and manage them without cluttering up your canvas.
Figma also allows you to create and utilize image libraries, which can be a great way for saving and recalling frequently used images for various projects. By creating an image library, you can make your designs more consistent and efficient.
If you’re designing and haven’t yet got the final images, there are image placeholder services like Unsplash or Lorem Picsum that you can use to insert temporary images into your designs. That way, you can carry on designing without being held up by the lack of images.
Figma supports powerful image masking capabilities that allow you to create custom and visually appealing effects. Try out different shapes and masks to create compelling compositions and visual elements in your designs.
For improved performance, it’s necessary to have your image sizes optimized in Figma. Large images can slow down your application and make collaboration less seamless. Resize and compress images before importing them into Figma to ensure a manageable file size.
Figma is also such a powerful collaborative design tool, so don’t forget to leverage its collaboration features when working with images. It’s simple to share design files with team members, comment, and collaborate in real-time, which makes the review and approval of images a far simpler process.
Figma continuously rolls out updates and new features, so it’s essential to stay current with what’s new. Track Figma’s official blog, newsletters, and design communities to stay current with new image-related features and improvements.
Also Read – How to Remove Phone from Safe Mode | Full Guide
You might occasionally experience issues importing images in Figma. Here are quick solutions for common issues:
Try refreshing the page. Sometimes Figma may need a reload to register your image.
Make sure your image is in PNG, JPG, or SVG format. Convert it using an online image converter if needed.
Ensure you’ve actually copied the image—not just the URL. Some browsers restrict clipboard access, so try using a screenshot tool instead.
Check the resolution. Images that are too low in resolution will become blurred when enlarged. Where possible, use high-resolution versions.
You can. While using the Place image option, hold the Ctrl (Windows) or Cmd (Mac) key while selecting multiple image files. You can then click on your canvas to place them one by one or all together.
Blurry images are usually caused by the original image having a resolution that’s too low or you’ve resized it too much. Try uploading a higher resolution version or avoid making the image larger than its original size.
Figma allows image uploads up to 32 MB per image file. If your image is bigger than that, attempt resizing or compressing it before importing.
Yes. Large or multiple images can affect performance, especially in shared files. Utilize compressed images or lower-res images for prototyping.
How to Import Images in Figma is easy. Drag and drop your image, or use the File menu and choose the “Place image” option. If you’re using a browser, how to import images in Figma online is the same.
You can even paste from the clipboard or use plugins for convenience. Import Images in Figma enables you to complete your designs quickly and bring them to life.
If you’re wondering how to convert an image to Figma, just import it and turn it into a component. In no time, you’ll discover that inserting images is second nature. Try it and see how effortless it is.
If you find this piece useful, kindly leave a comment and follow for more updates
Facebook at Silicon Africa
Instagram at Siliconafricatech
Twitter at @siliconafritech.